Building a Simple Grow Light Stand for Starting Seedlings

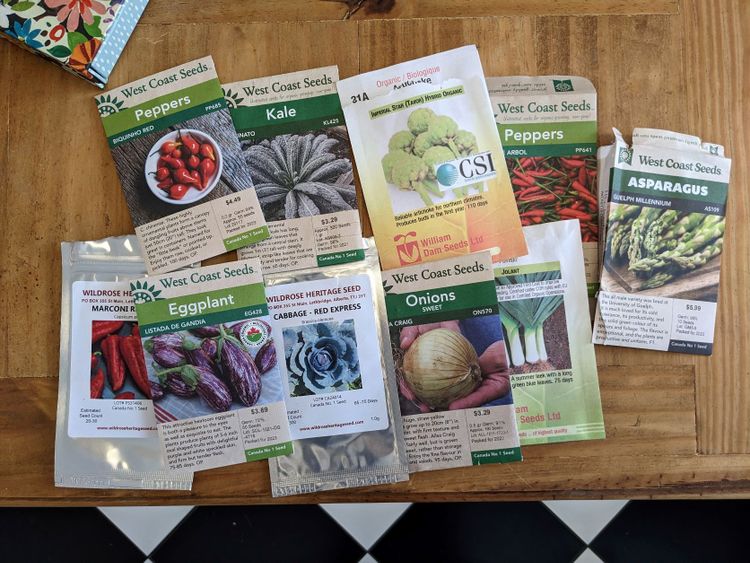
When I set up my grow stand to start my own seedlings, I wanted to make it as flexible as possible, to be able to grow anything from microgreens to 12" tall tomato plants and I am happy with it so far! It's simple to put together, the components are easy to find and it should last for many seasons.
The other nice thing with this setup is that you can easily get started with lights on one or two of the shelves and then add more later if you need to expand. This grow stand gives you more control over your seedlings, resulting in healthy plants and more food from your garden.
When you garden in a cold climate like I do (zone 3b), starting your own seedlings is crucial to making the most of your short growing season. Having a growing station with proper lighting and good airflow is useful for making sure you sprout healthy plants that are ready to go in the garden when things have warmed up, plus you'll have given them a few weeks head start, compared to plants you'd seed directly.
I also keep starting seedlings throughout the growing season to make sure I always have plants to fill any gaps in my beds that come up as I harvest things. This not only maximizes how I'm using my garden space, but it also makes sure I'm never leaving any patches of dirt free for weeds to get established.
Now, there are lots of fine ways to start seedlings. In the past, I've tried putting seeds in a south-facing window but I've usually ended up with long, leggy seedlings that aren't very sturdy, as they reach toward the window to face the light.
I've heard that turning your seedling trays twice a day avoids that problem, but that's not the most convenient fix and it's easy to forget. The other issue I've faced is that my plants sometimes don't get enough light coming through the window, or the quality of the light is low and the seedlings have stunted growth as a result. What I've found has given me more consistent results and nicer looking seedlings is starting them indoors in a controlled environment with a grow light shelf.

Materials I used for my Grow Light Stand
- Adjustable metal shelving
- Full spectrum LED grow lights
- USB fans
- Power bar with USB plug
- Timer for lights
- Plastic growing trays (1020 trays)
- Heating pad for seedlings (optional, but recommended)
- Chains and S-hooks
- Electrical tape and zip ties.
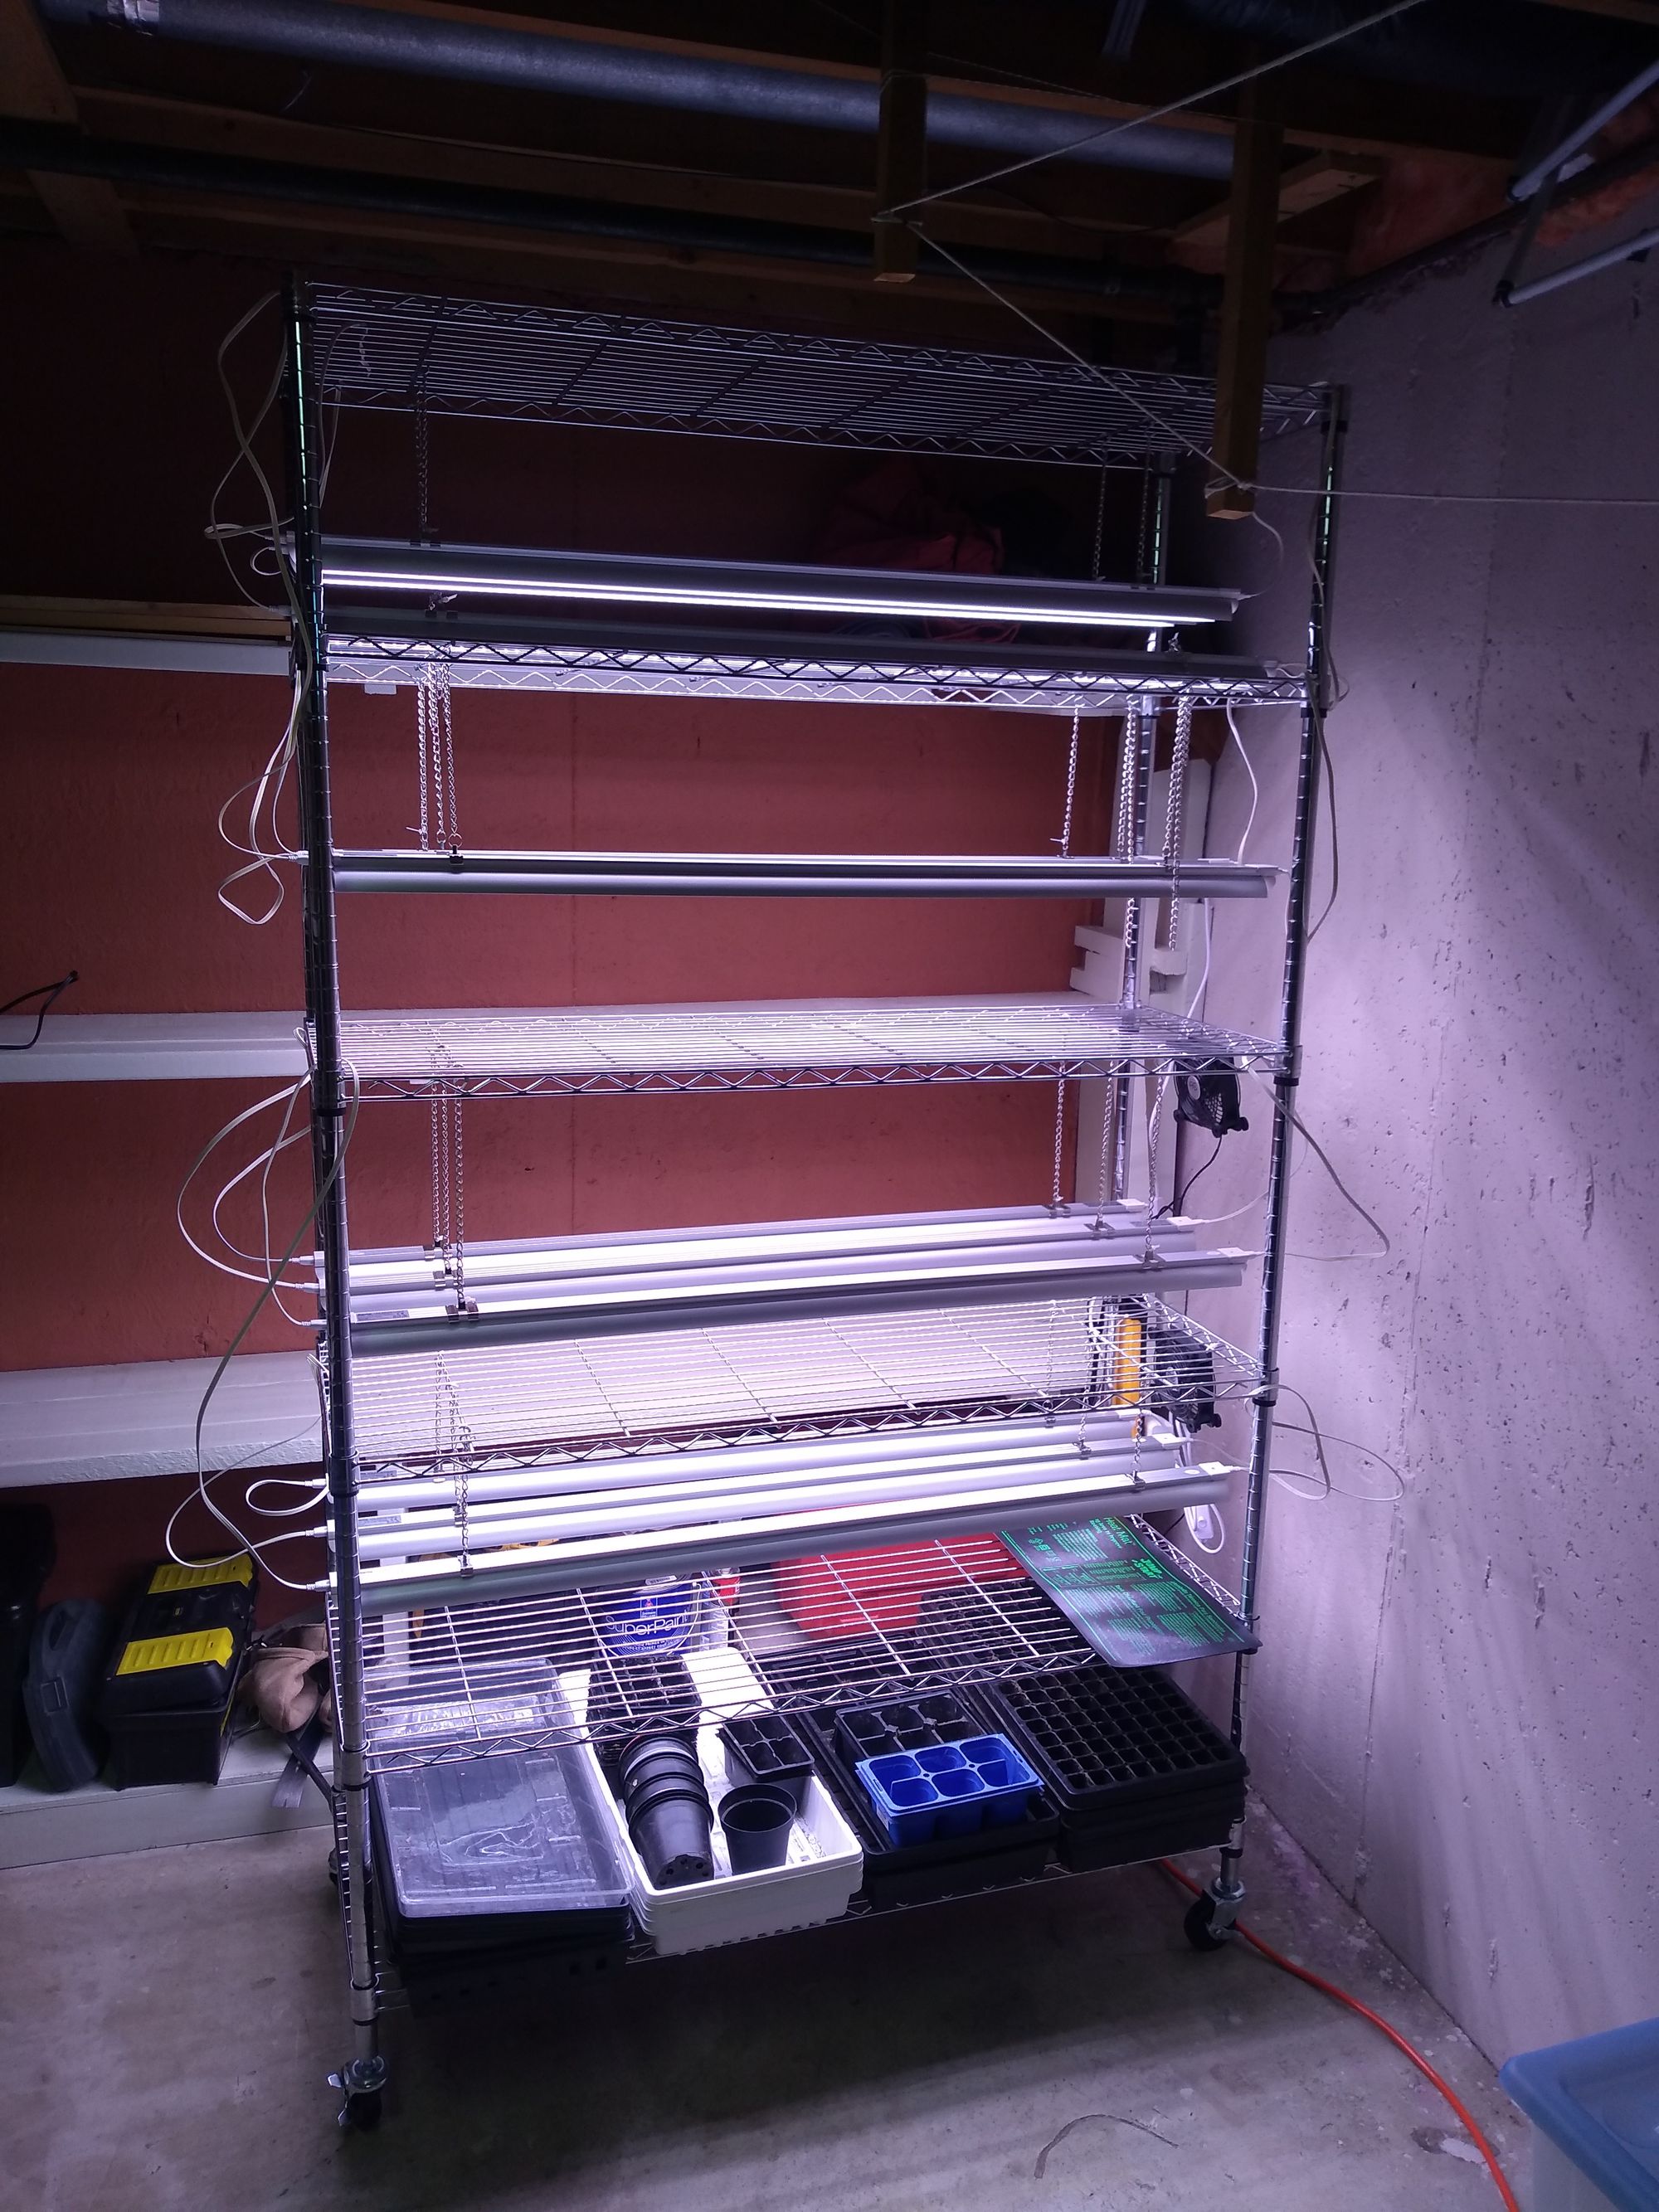
Adjustable Metal Shelving
I used these heavy-duty stainless steel shelves. They are the perfect dimensions for growing using 1020 trays, as you can fit four trays per shelf, with a bit of room to spare. They are easy to put together without tools, are really durable and have castors on the legs so you can move them around as needed.
The shelves are adjustable as well, and I set them up with 12-20 inches between each shelf. I'm not sure what the optimum spacing between shelves is, but having a bit of variety allows me some flexibility as to what I grow on each one.
Full-Spectrum LED Grow Lights
The lights are probably the most important part of this whole thing - no light, no plants (no kidding, you say).
You can really get into the weeds when you're researching what kind of grow lights to get, but these days my main decision would be between LED and fluorescent lights. Last time I was at my local big box store, I saw they were selling metal halide HID lights as well, but I wouldn't recommend them with a setup like this, as they'd be too close to the seedlings and the amount of heat they produce would likely cook your plants. Not to mention, they are not an energy efficient option!
As for LED vs. fluorescent, both are perfectly good choices. The main advantages of LED lights is that they use less energy, produce less heat and have a longer life span than fluorescent. Fluorescent lights on the other hand are cheaper upfront to buy and still have a relatively low heat emission compared to incandescent or other grow light options.
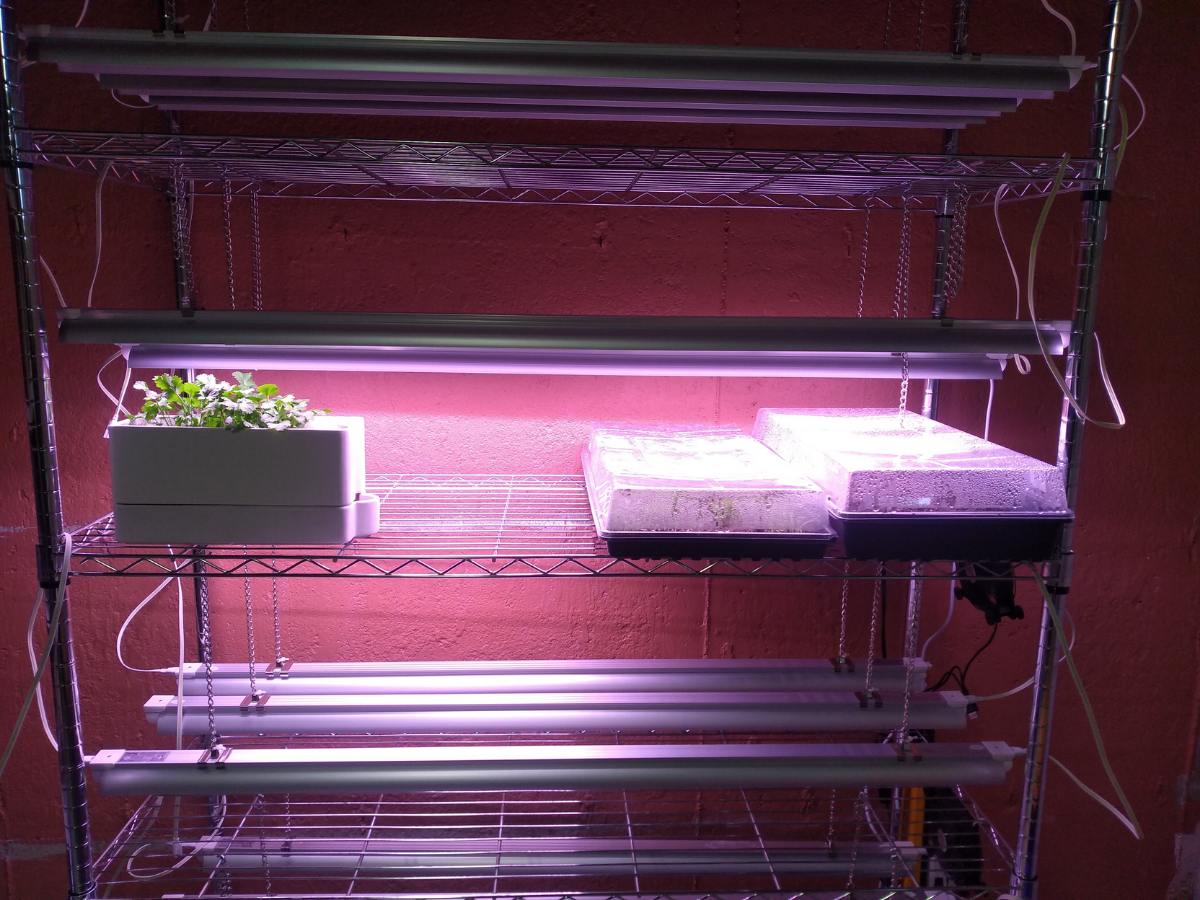
I went with these Barrina LED lights, as they were a good value, had 4.5 star reviews on Amazon and came with lots of different options for mounting. I was able to use three four foot lights per shelf and get full coverage for the growing area. I mounted them using the clips they came with, which attach to the back of the fixture and have a key ring loop that I could attach to the chain I used to hang the lights.
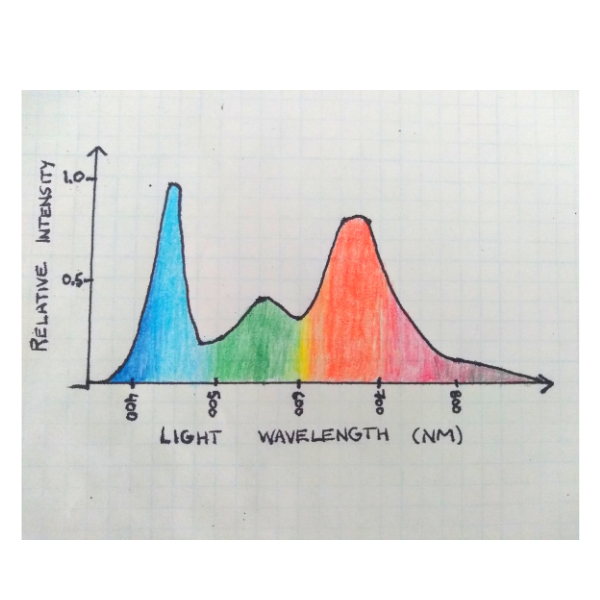
When you're choosing lights, make sure whatever you pick produces light that plants can actually use for photosynthesis, known as PAR, or photosynthetically active radiation. The two main bands of the spectrum you'll need for plant growth are red and blue light (at around 660 nm and 450 nm wavelengths). If you look for full spectrum lights, they will generally provide the right kinds of light you need to start your plants, but any grow lights you buy should clearly show the spectrum of light they'll emit.
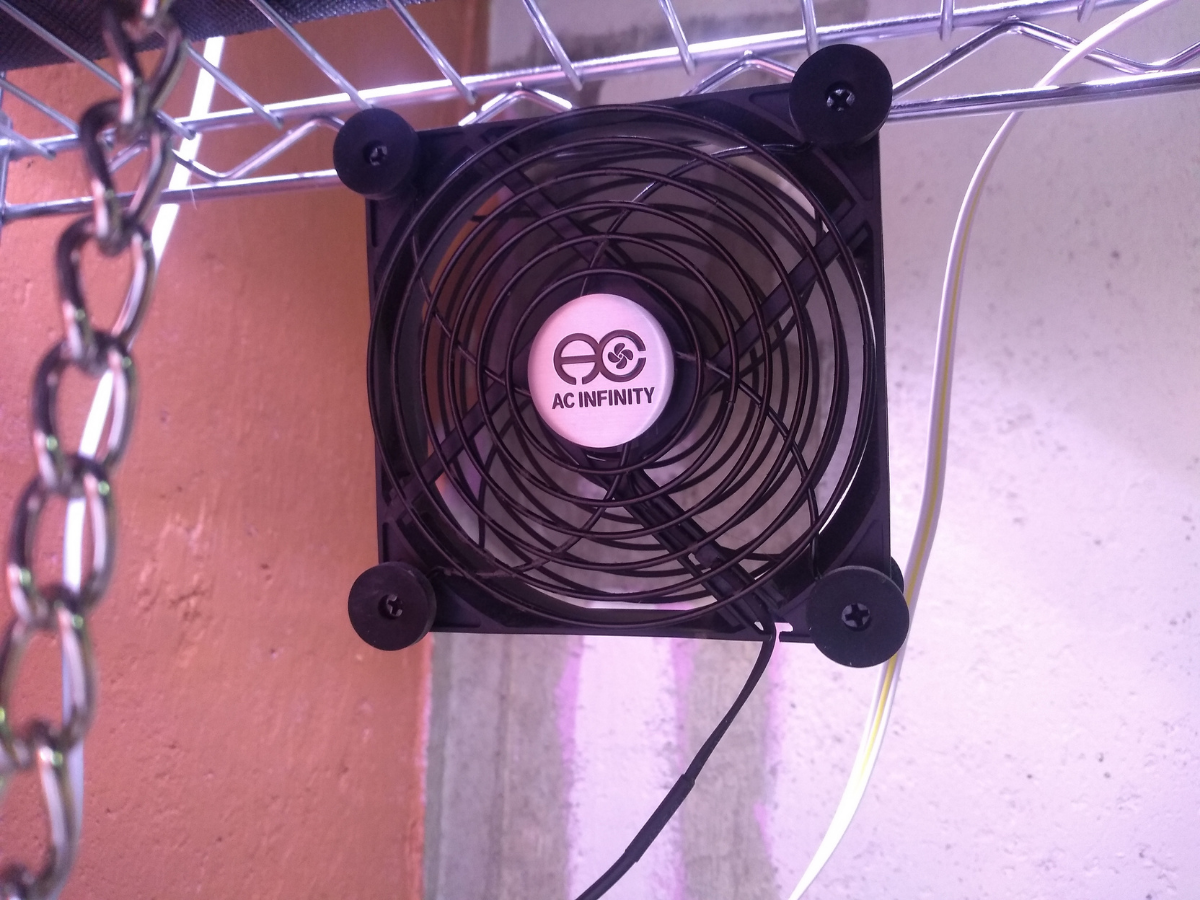
USB Fans
Having good air flow is important for keeping your plants healthy, because the moving air prevents humidity build up which can lead to mold growth and potential plant diseases. The other benefit is that having a slight wind blowing over your plants forces them to develop stronger stems and makes them more resilient so that when you put them outside and they are exposed to actual weather, they don't just fall over.
For my setup, I used electronics cooling fans, one on each shelf. They plug directly into my power bar through a USB connection and can be daisy-chained together so you only need one USB port to run all your fans. These fans are very quiet (you can barely tell they're on) but move air nicely and are easy to zip tie to the steel shelving. They have a high, medium, low and off setting as well, giving you some extra control and when you zip tie them to the shelf, if you remove two of the bumpers they come with, it makes them aim downwards toward your growing trays.
An easy alternative to these USB fans would be to use an oscillating fan, setup nearby your shelves. The important thing is to keep that air moving!
Power Bar with a USB Plug
The power bar I use has six outlets, but I only use one for the timer (this has two outlets in it as well) and one for my heating mat. I use the single USB plug as well, for powering my fans. I zip tied the top and bottom of it to the frame of the backside of the shelving so it's out of the way.
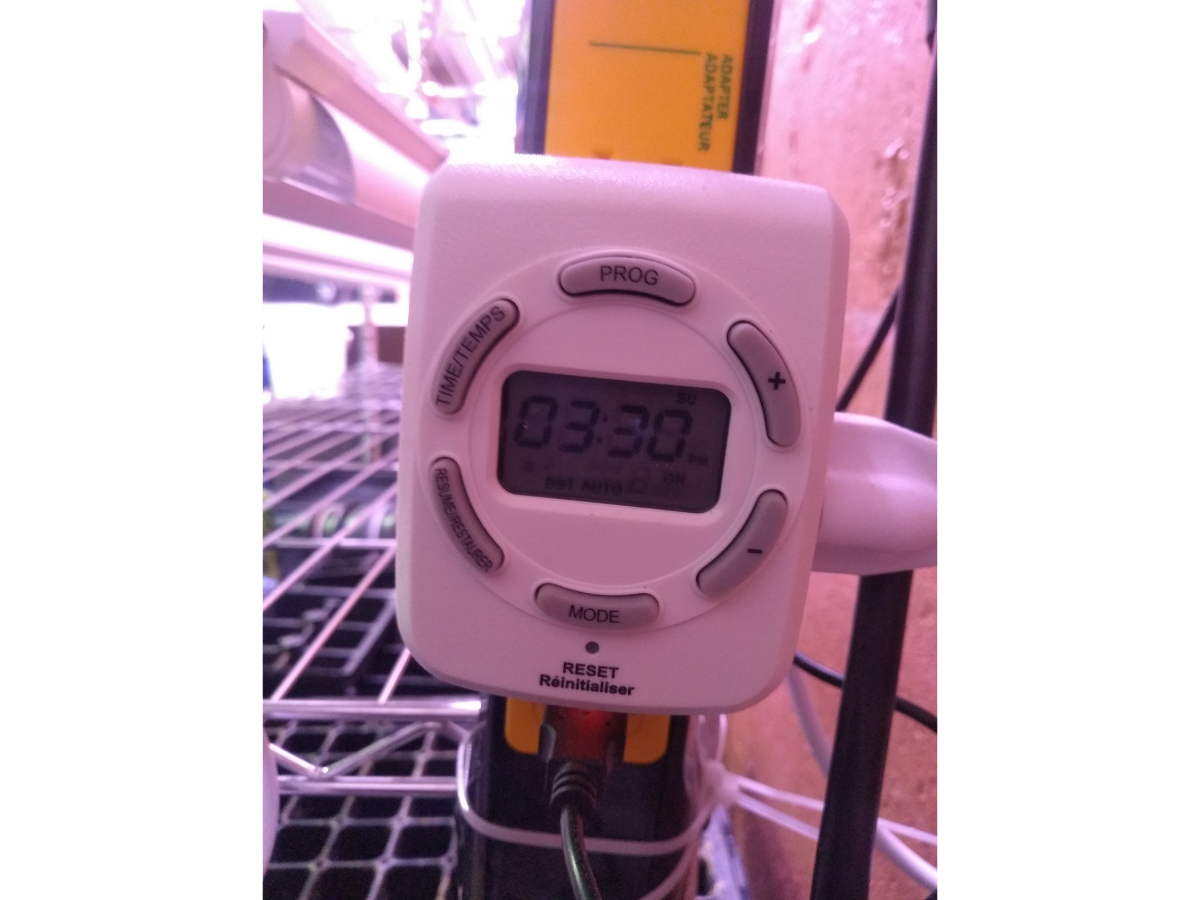
Timer for Lights
I use this seven day programmable timer to run the grow lights for 14 hours a day. With the lights I use, you can only have six lights linked together at once, so two outlets are necessary to have all the lights run off the same timer.
Why do I run the lights 14 hours a day? Plants, like people, need a dark period of 6-10 hours to catch up on some of their important biological functions. This is the period when plants use up their glucose that they created through photosynthesis to grow new parts and respire the oxygen we like to breathe, so the dark period is important! The dark period is important in other ways as well, and if you're interested in learning more about this, check out this blog post by Urban Leaf.
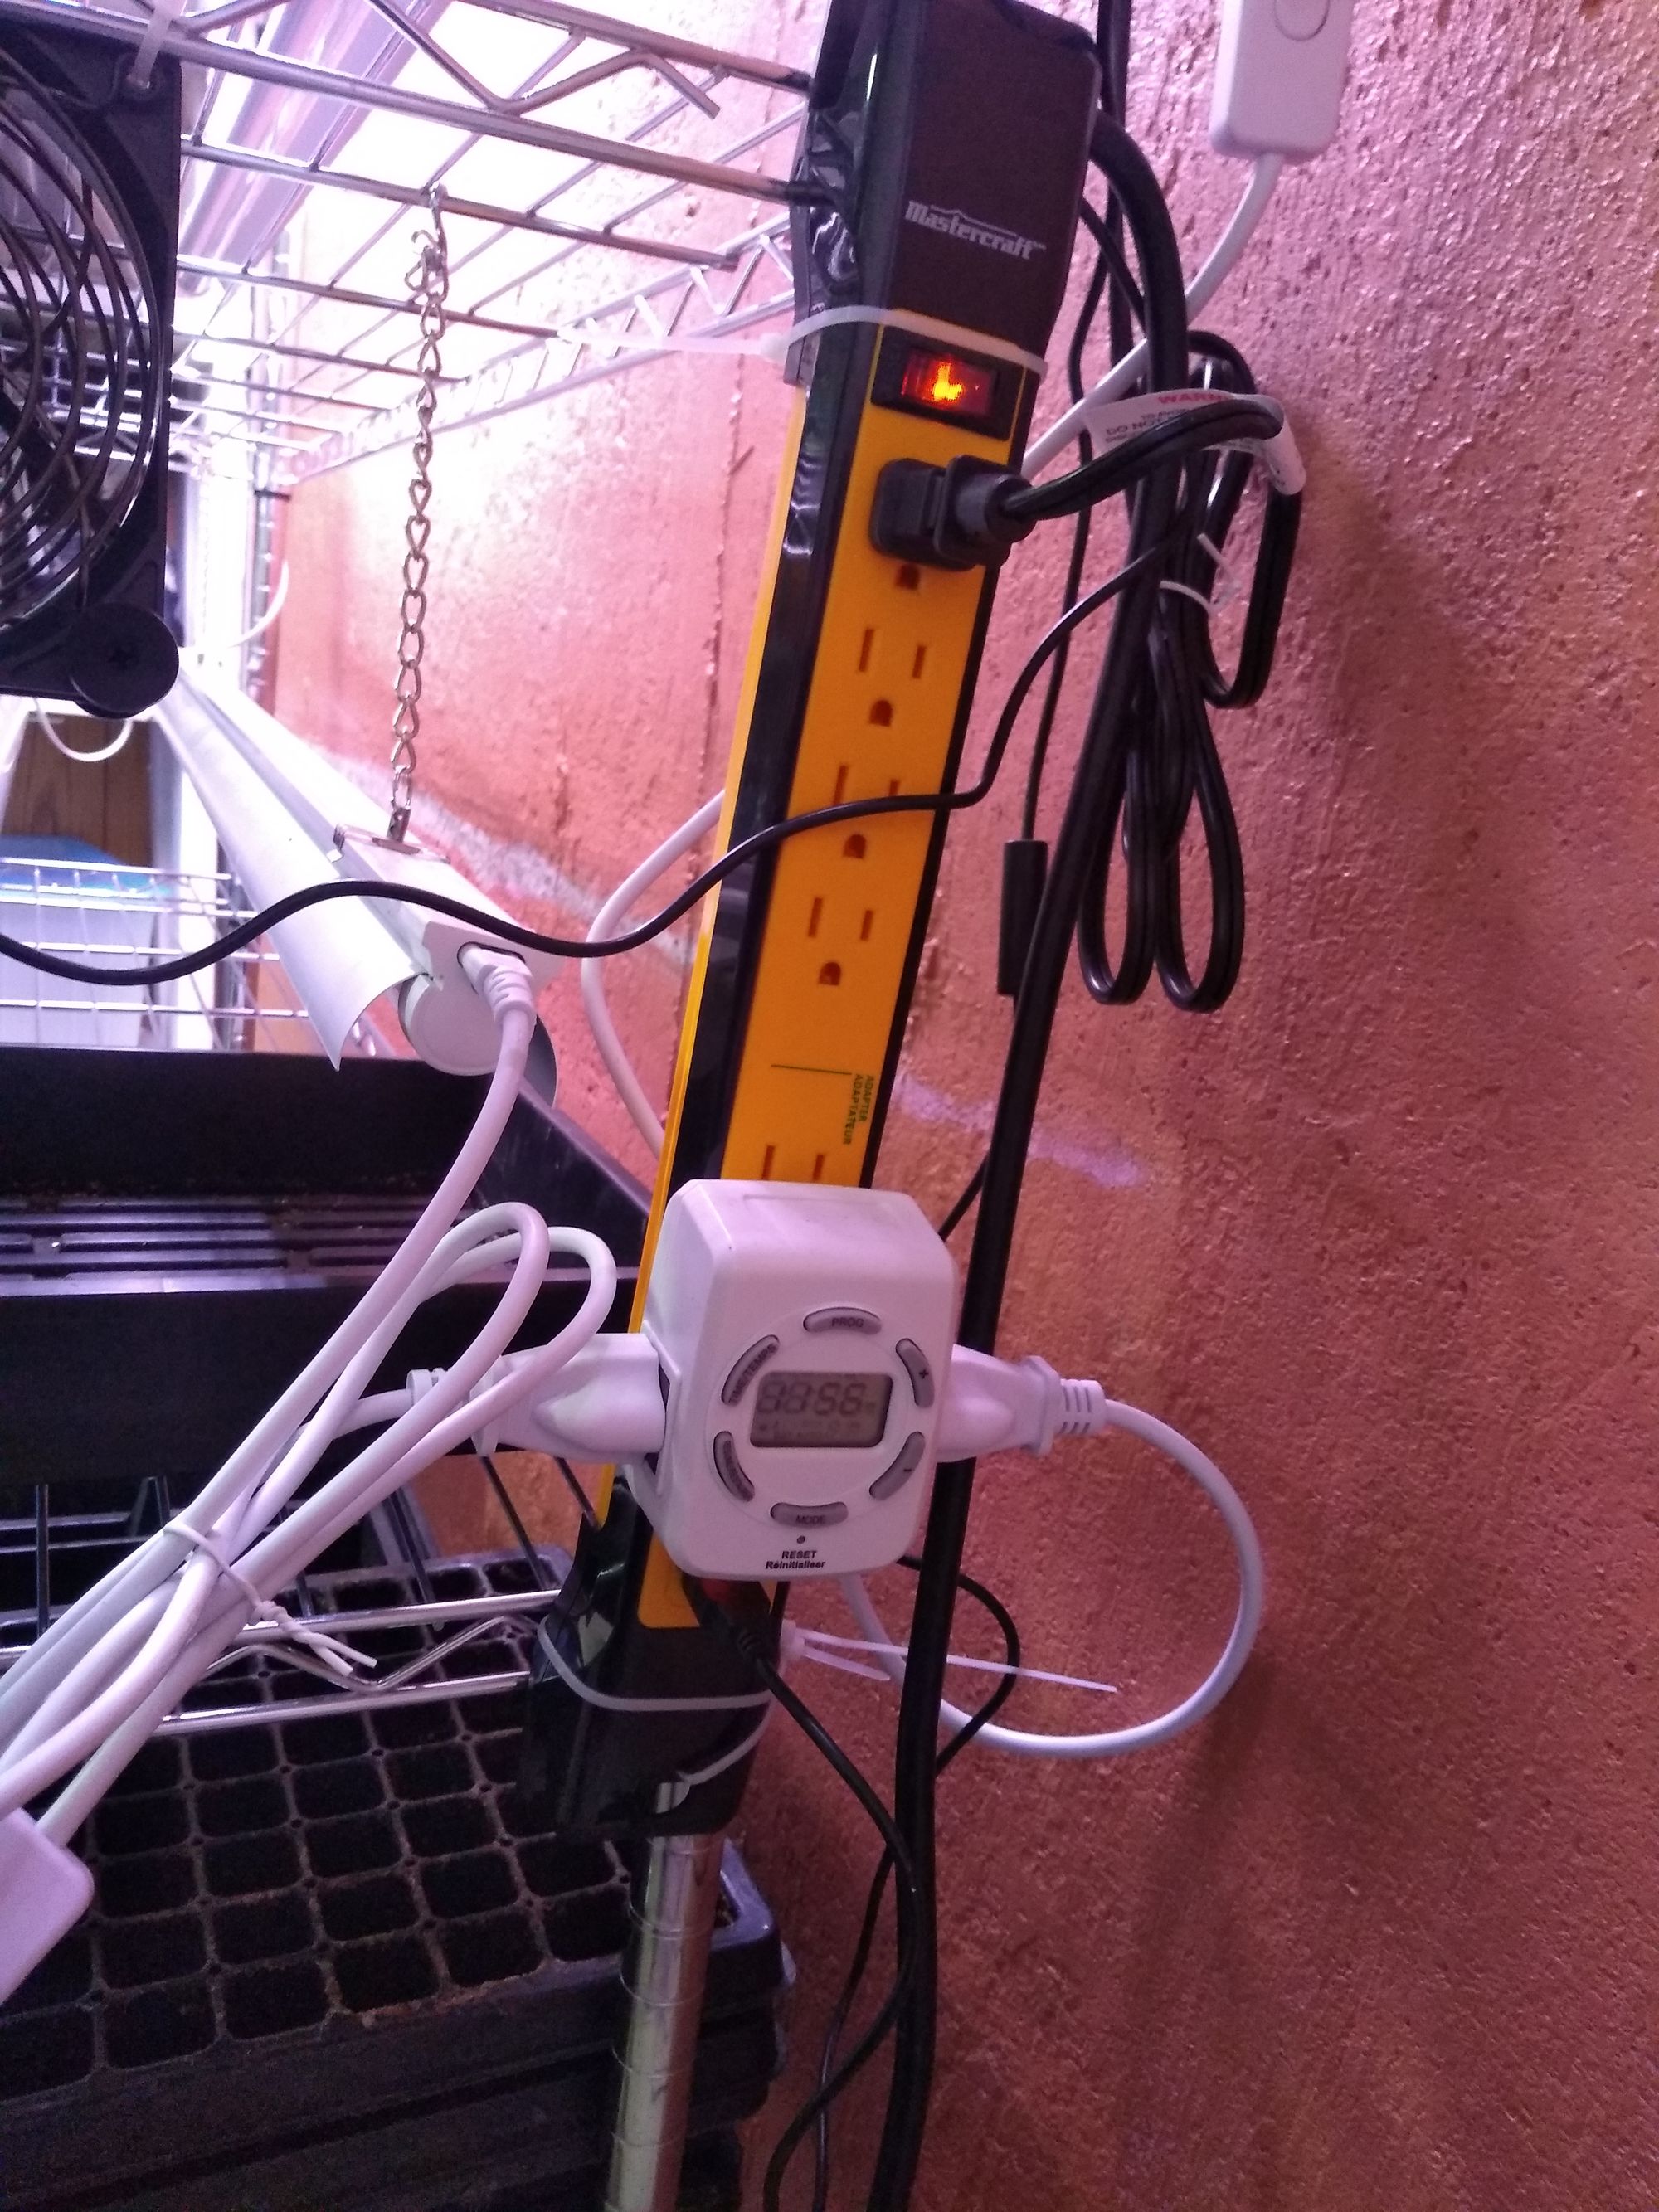
USB fan, power bar zip-tied to shelf and timer for lights.
Plastic Growing Trays (1020 Trays)
These are called 1020 trays because of their dimensions (10" x 20") and they are the standard size for plant propagating. I use plastic plug trays of different sizes that fit within these trays for my seed starting. The ones I use are heavy duty plastic, last a while, are leak proof and are easy to clean. Check out your local greenhouse or plant store as they are sure to have them.
Heating Pad for Seedlings
This is optional, but for me, growing in my chilly basement it is a worthwhile investment. Heating pads will raise the temperature of the soil about 7 degrees C (10 degrees F) above the air temperature and give you faster, more successful germination. I like to grow lots of peppers and being heat loving, the heat mat is especially helpful for getting quicker seedling growth. I only bought one mat, big enough for a single 1020 tray, but it's enough to get seeds germinated and then I can switch it over to get the next tray started.
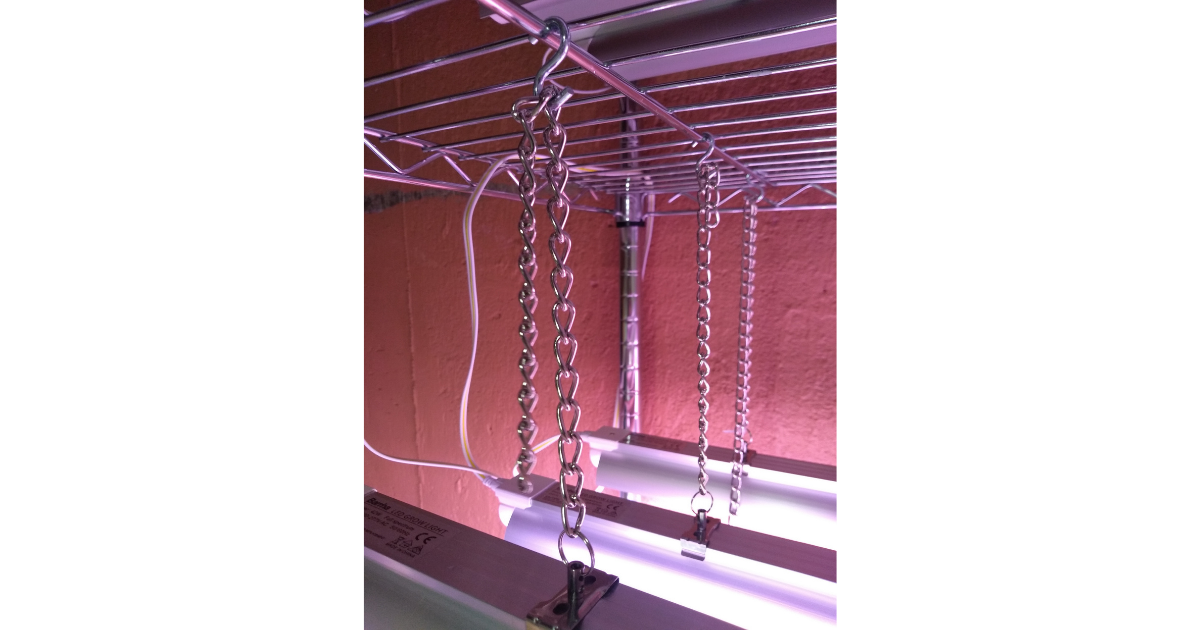
Chains and S-Hooks
These are the components I chose to hang my lights. Having the chains and hooks allows me to quickly adjust the height of the lights as my plants grow. The chains hook to the keychain loop on the brackets that came with my grow lights.
Electrical Tape and Zip Ties
The electrical tape is used to manage all the cables and the zip ties attach the power bar and fans to the shelf. The zip ties actually came with my grow lights, so it was something I already had around.
It's a bit of an investment up front, but definitely worth it in my opinion. You can grow so many of your own plants or use it to give your herbs or other edibles some extra light in the winter. Using durable, high quality materials means it'll also last you for many seasons!
Any questions or indoor growing ideas of you own? Please feel free to contact me or follow me on Instagram.
\